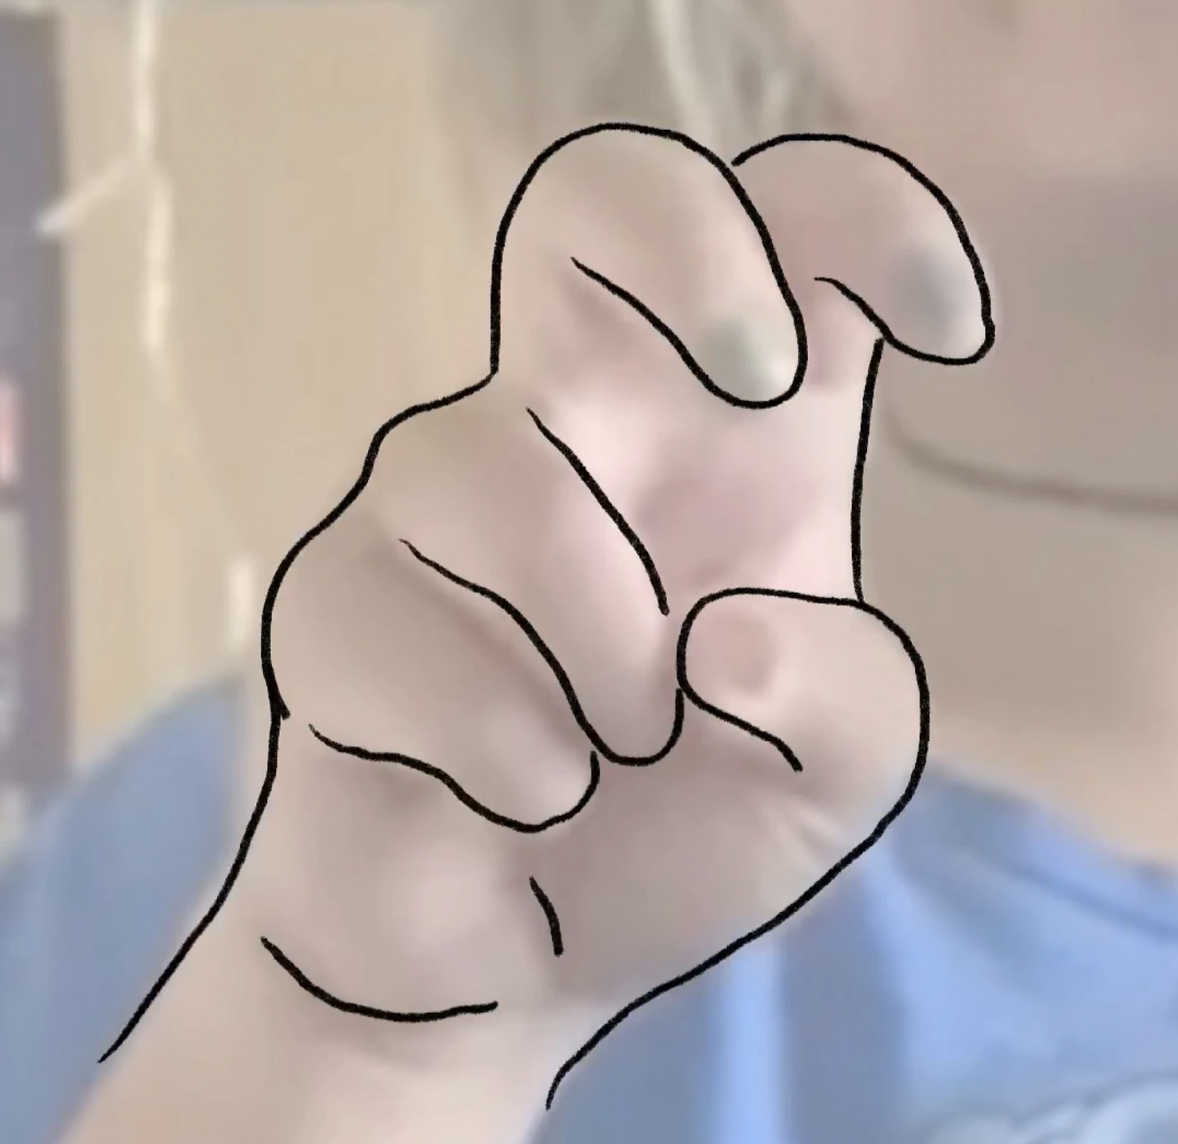
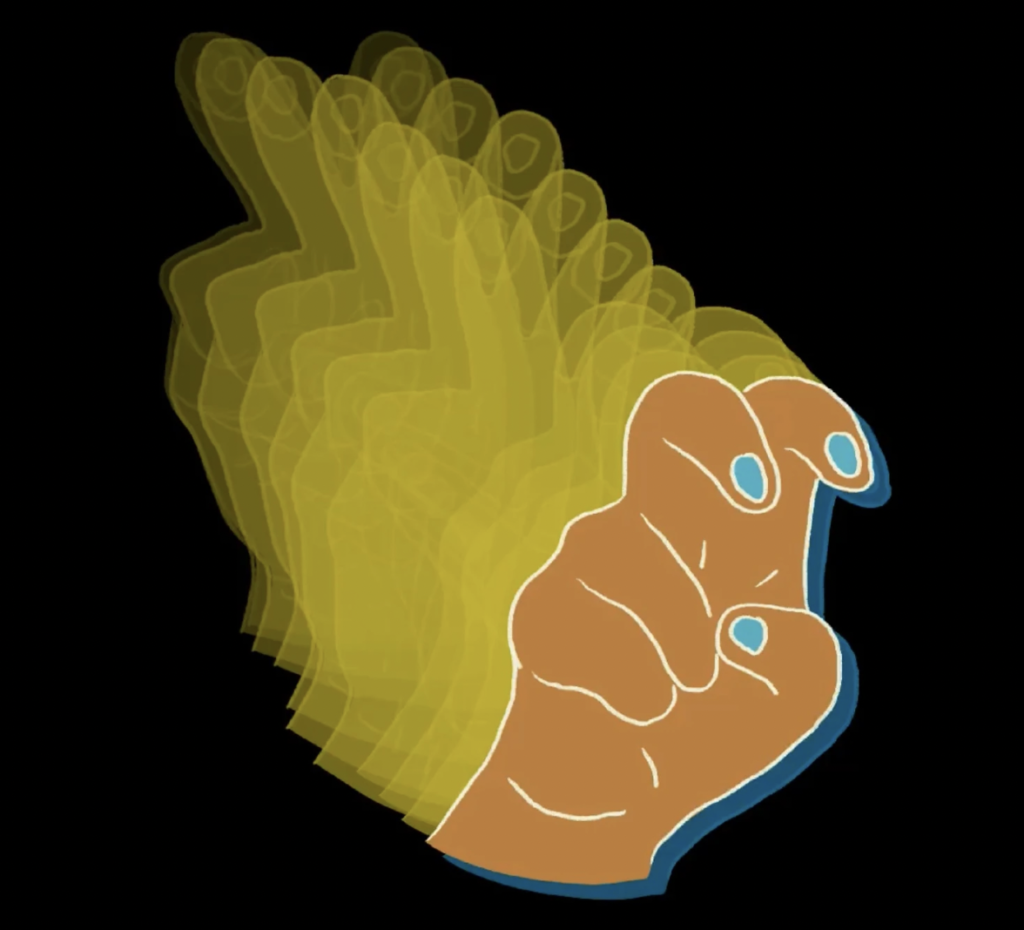
making an animated gif is easier than you might think, it’s actually super simple to do in procreate! I’m going to show you how you can make an asl gif in 6 easy steps using an example I did for one of my amazing clients, jojo.
1. screenshot key moments
so first you need to watch a video of the word being signed (my client jojo sent me a video of her signing the word for ‘travel’) and you’re going to screenshot some of the key moments to give yourself some references when it comes to sketching.
when you have all the screenshots you need you can jump on over to procreate and get started. grab an 8×8 inch blank canvas and pop the first screenshot in. also to make it a little easier to see your sketch lines, turn down the opacity of the image slightly.
2. create an outline of the hand
now you need to create a loose sketch of the hand. get a pencil tool and trace over the outlines of the hand. once you’re happy with your outline, turn off your image layer (so you can focus better on the hand), create a new layer and drag this below the second layer.
using a brush that lets you do a really nice outline, just trace over the outside line of your initial sketch (I usually lower the opacity of my first sketch just to make it easier to see the new outline that I’m doing).
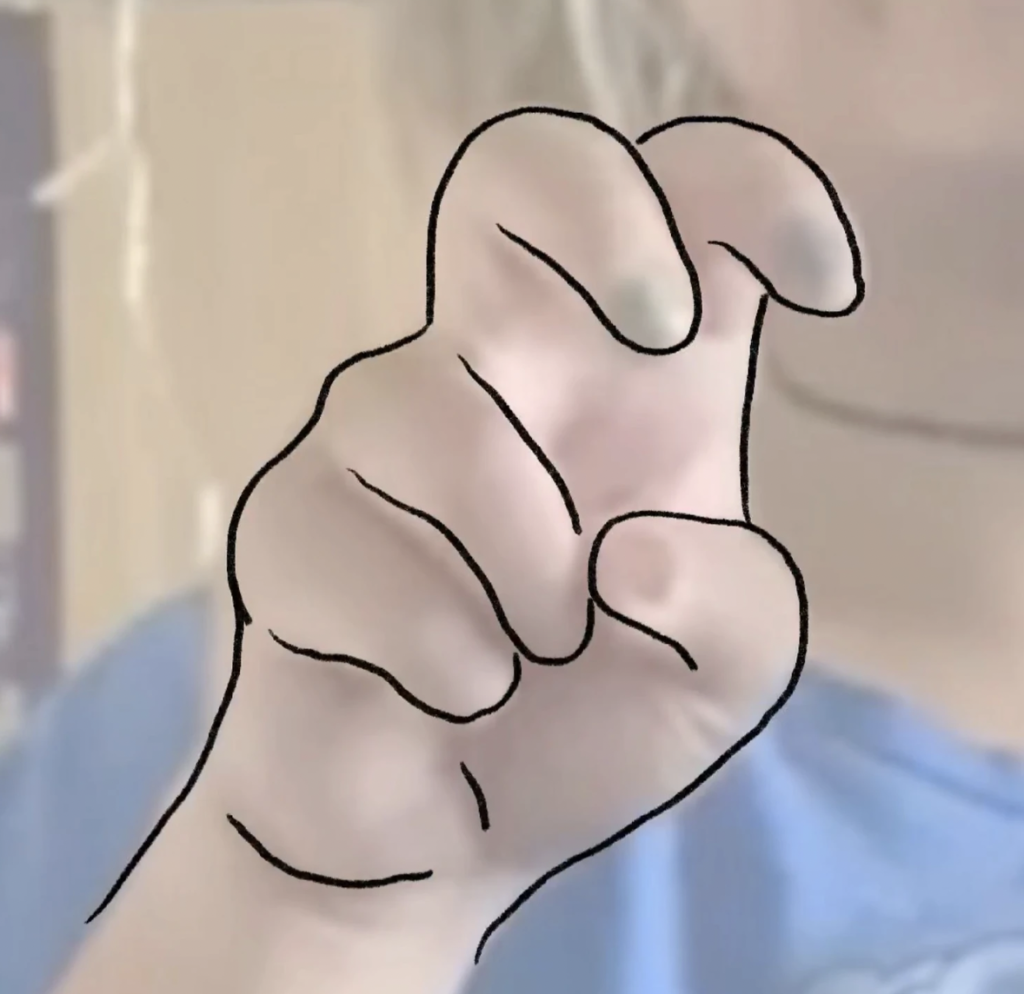
now you have your hand outline all you need to do is fill it in with one of your (or your client’s) brand colors, then go back and turn the opacity up on the original sketch so you can see your lines again. remove the background (i find it less distracting but if you wanna keep it, you do you girl!) and clean up the color a little bit. finally, finish off the hand details by filling in the fingernails.
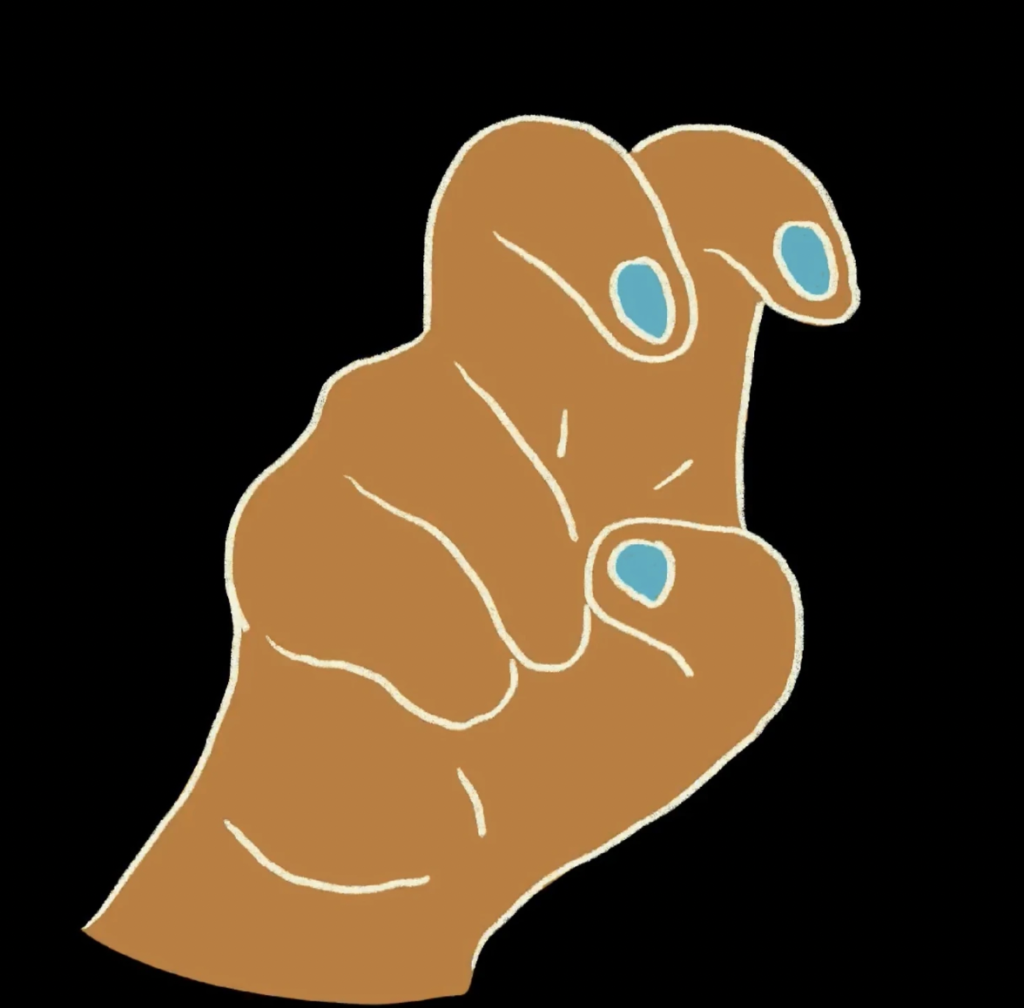
also. just an fyi. My interpolation setting is always set to bilinear!! if it’s on bicubic, then every time you resize it, it’s going to get more pixelated, but if it’s set to bilinear, you’ll be fine.
3. check back with your reference
now that you have your hand all done, you’re just going to duplicate the hand and shrink it to match it with the original image. and then just add in the other screenshot (one with the hand in the next position) and toggle between your original hand and the next hand position so you can see where the hand needs to go next.
when i was doing mine, I noticed the hand positions were quite different so I just needed to repeat the process (trace the hand, create a loose sketch and color it in- you know the drill) for my next hand position. also make sure you use the same colors as you did with your first hand (consistency is everythinggg !!)
4. create the motion
now you have both hands, it’s time to get animating! I know it sounds a little daunting but honestly, don’t worry it’s super easy!! we just have to figure out what the hand has to do to get from position 1 to 2. (in my case, the hand has to move up a bit and then rotate – so that’s what we’re going to do!)
in the top left corner, there’s a little wrench and you’re gonna click that, click canvas on the dropdown, and then turn on animation assist. it’s best to focus on one hand at a time and work out how to make it so it blends into your next hand position. you’re going to click on the frame, duplicate and then move it up a tinyyyy bit. I’m doing this until the hand is high enough to the point where it needs to rotate (if there are any fellow wallace and gromit fans out there, it’s kind of the same process they used to make the original wallace and gromit movies! but the digital version obvs).
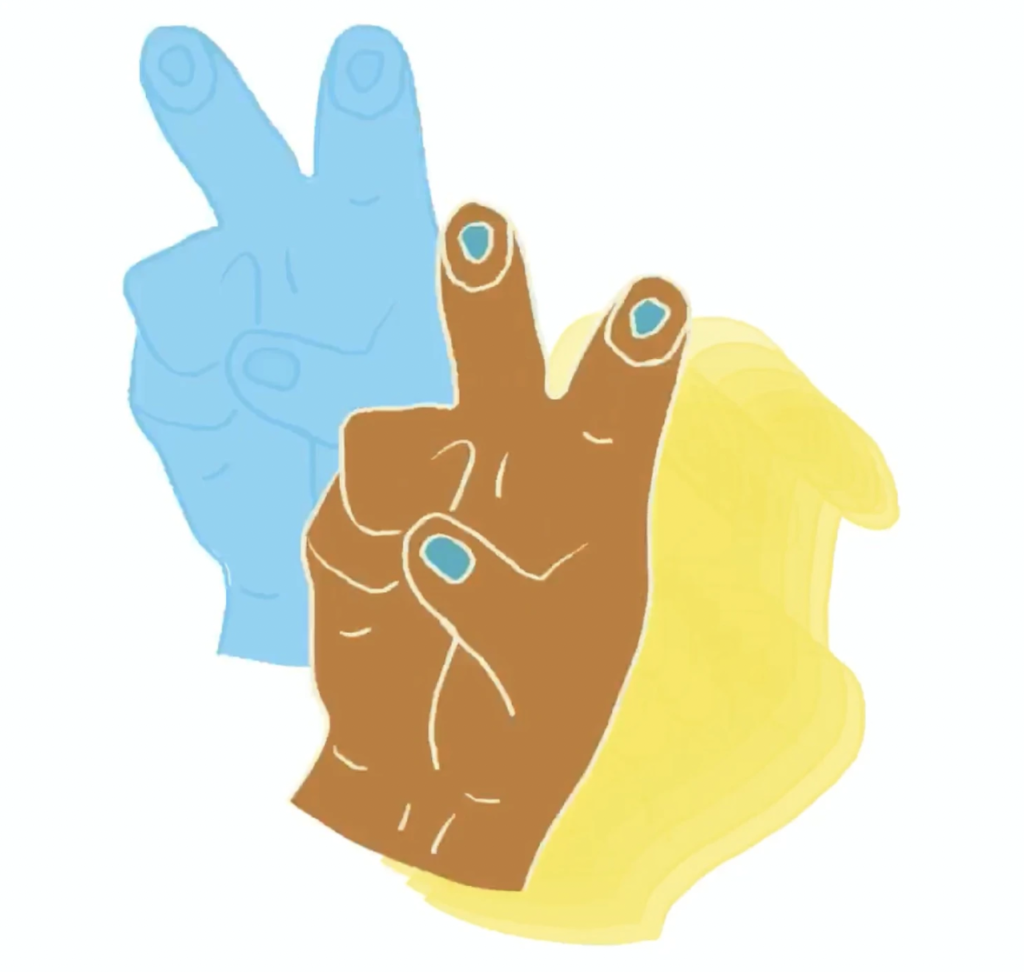
once your first hand is in the right place, it’s time to focus on the second hand. for this one’s movements I did the same as before (duplicate the frame and move it) so it starts where the first hand left off. the hand rotates so I copied that and rotated my hand slightly to make it match the motion of the sign.
5. test and edit
so you’ve got the general movement of the signed word in the right places, it’s time to move some frames around and add more to get it perfect (also the more frames you have, the smoother your animated gif will be so just keep that in mind). keep adjusting your frames per second to make sure the gif animation matches how the word is signed. do this until you’re happy with your asl gif!
6. export your animated gif
once you’re happy with your (dope) asl gif, head back to that wrench button you clicked earlier, press animated gif, and then choose how many frames per second you want it to be. also make sure the background is transparent (so you can put it anywhere). click export then save the image.
boom. mic drop. done.
you killed it!
so there you go, that’s how you make an animated asl gif in procreate. 6 easy steps for an awesome-looking gif! now you can go use your asl gif wherever your heart desires!!
ps! see this gif in action here: http://christianna-designs-2.showit.site/
christianna designs © 2023 | all rights reserved | site copy by emma parnell | photography by olivia dotson | christiannadesigns@gmail.com
